
SEARCH
Tile Leveling Tools
Tile leveling tools are a set of specialized tools used to ensure a level and flat surface during tile installation. These tools help to prevent tile lippage, which is the unevenness between adjacent tiles, and ensure that the tiles are evenly spaced and aligned.
Tile leveling tools typically consist of leveling clips or wedges, leveling pliers, and caps. The leveling clips or wedges are inserted between tiles to ensure that they are level and flat, while the leveling pliers are used to tighten and adjust the clips or wedges. The caps are then placed on top of the clips or wedges to secure the tiles in place.
Tile leveling tools are particularly useful for large format tiles, such as porcelain or ceramic slabs, which can be challenging to install due to their weight and size. They help to ensure a secure and durable tile installation by ensuring that the tiles are level and flat, and that there is a consistent gap between each tile.
Tile leveling tools can be used in conjunction with other tiling tools, such as tile spacers and tile saws, for a more efficient and precise tile installation process. They are an essential tool for both professional tile installers and DIY enthusiasts, as they help to ensure a high-quality and long-lasting tile installation.
11 results
ViewShowcase
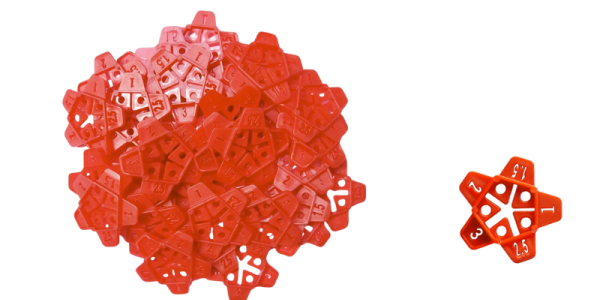
Tile spacers are placed between each tile during installation to create a uniform gap or joint between the tiles.
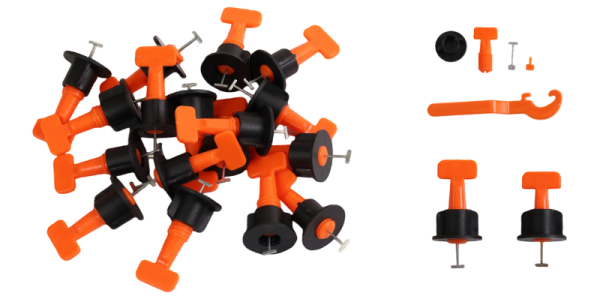
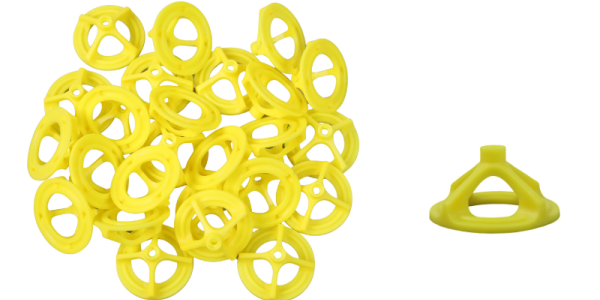
Tile leveling system clips and wedges are used in tile installation to ensure that tiles are laid flat and level.
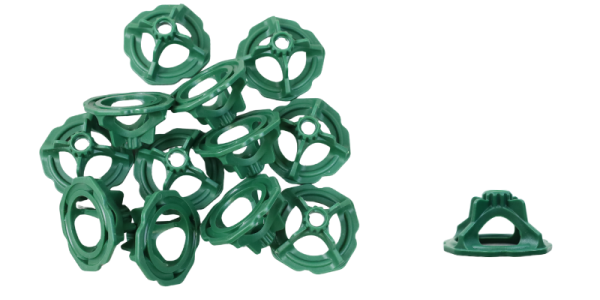
Recyclable Tile Leveling System is used in tile installation to ensure that tiles are laid flat and level.

Tile spacers are placed between each tile during installation to create a uniform gap or joint between the tiles.
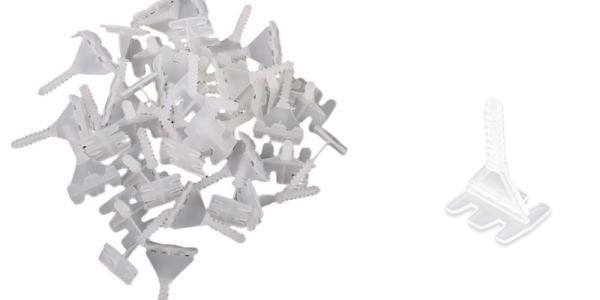
TILER Tile Leveling Screw 8119-T1 is used to ensure that tiles are laid flat and level during installation.
Tile spacers are placed between each tile during installation to create a uniform gap or joint between the tiles.
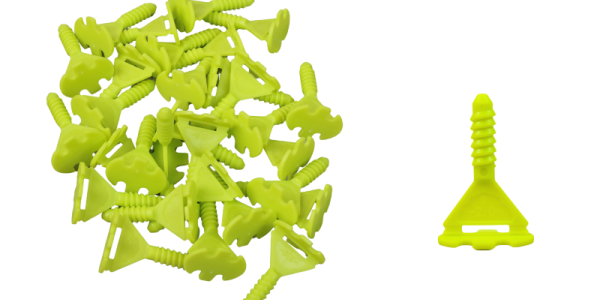
TILER Tile Leveling Screw 8119-T1 is used to ensure that tiles are laid flat and level during installation.
Tile spacers are placed between each tile during installation to create a uniform gap or joint between the tiles.

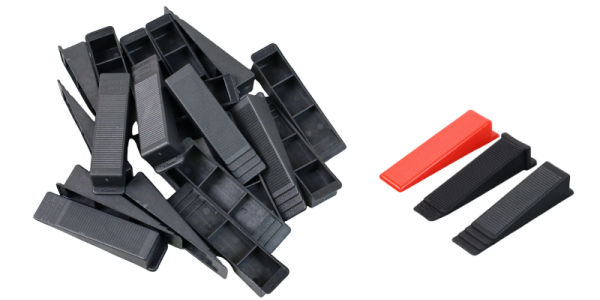
Tile Horseshoe Shim A42208 are placed between each tile during installation to create a uniform gap or joint between the tiles.
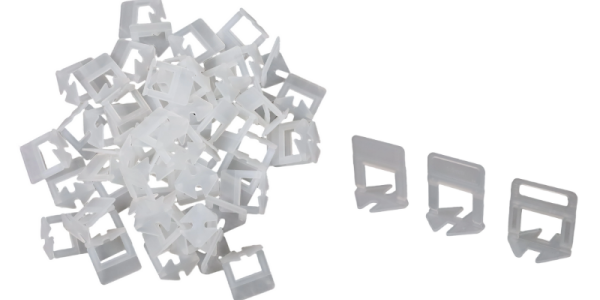
TILER Tile Spacer A42209 are placed between each tile during installation to create a uniform gap or joint between the tiles.
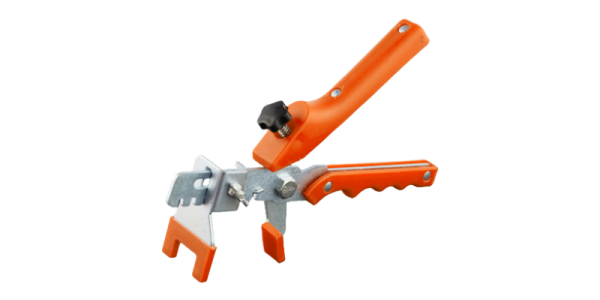
The pliers are used to tighten the clips and wedges in place, ensuring that they are securely holding the tiles in position.
How to Use Tile Leveling Tools?
Using tile leveling tools may seem daunting, but with the right approach, you can achieve professional results. Here's a step-by-step guide on how to effectively use these tools for your tile installation project:
Step 1: Preparing the Substrate
Clean the Surface: Remove any debris, dust, or old adhesive from the substrate. A clean surface ensures better adhesion.
Check for Level: Use a level to ensure that the substrate is flat and even. Any unevenness can affect the alignment of the tiles.
Step 2: Applying Adhesive
Select the Right Adhesive: Choose an adhesive suitable for your tile type and substrate.
Use a Notched Trowel: Apply adhesive to the substrate using a notched trowel. The notches create ridges, allowing for better adhesion.
Step 3: Placing the Tiles
Position Tiles Carefully: Place the tiles onto the adhesive, starting from one corner and working your way out. Ensure even spacing between tiles.
Press Firmly: Press each tile down firmly to ensure it adheres properly to the substrate.
Step 4: Using Tile Leveling Tools
Insert the Tools: Once a tile is in place, insert the chosen tile leveling tool. Depending on the type you're using, this could be clips and wedges, reusable straps and caps, or self-leveling spacers.
Adjust as Needed: Make sure the tools are properly adjusted to achieve the desired alignment. Tighten or adjust them as necessary to level the tiles.
Continue the Process: Repeat this process for each tile as you work your way across the installation area. Periodically check the alignment to ensure consistency.
Step 5: Curing and Removal
Allow Adhesive to Cure: Leave the adhesive to cure. This usually requires a specified time period.
Remove the Leveling Tools: Once the adhesive is fully cured, carefully remove the leveling tools. They should come off easily, leaving your tiles perfectly aligned.
Subscribe to Get Latest Updates
Contact us

- Full Name:
- Hangzhou John Hardware Tools Co.,Ltd
- Tel:
+86 571-88637866
- Email:
- info@tilertool.com
- Skype:
- 8613958091356
- Address:
- Building 1, No.283 Renkang Road, Renhe Street, Yuhang District, Hangzhou, Zhejiang, China 311107

Get a special discount for your first order !
GET A SPECIAL DISCOUNT FOR YOUR FIRST ORDER!
- Name
- Phone
- *Title
- *Content